DIY Deck Finishing Touches: 6 Mistakes to Avoid (and What to Do Instead)
You framed it, decked it, and railed it — no small feat. The finishing touches are what separate a deck that looks handmade from one that looks professionally done.

Here's what a lot of DIYers don't realize until it's too late: the finishing touches are also where the expensive, avoidable mistakes tend to happen. Here are six we see most often, and how to sidestep them.
1. Chasing a perfect hand-cut miter at every corner
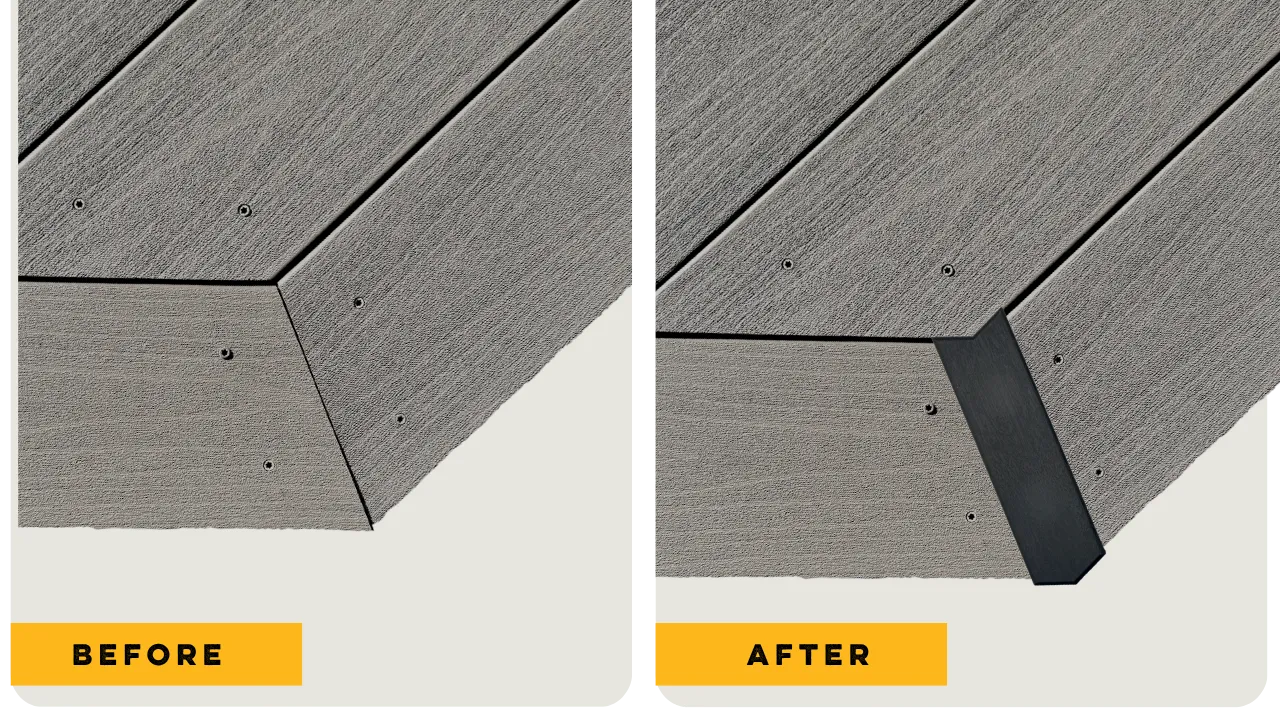
Here's one nobody warns you about going in: getting fascia and deck corners to miter cleanly takes real time. Even careful DIYers can burn hours measuring, test-fitting, and re-cutting angles, and the lines still often end up slightly off — a hairline gap or mismatched seam that's hard to unsee once you notice it. Worse, a seam that's tight in October opens up by July, because the boards move.
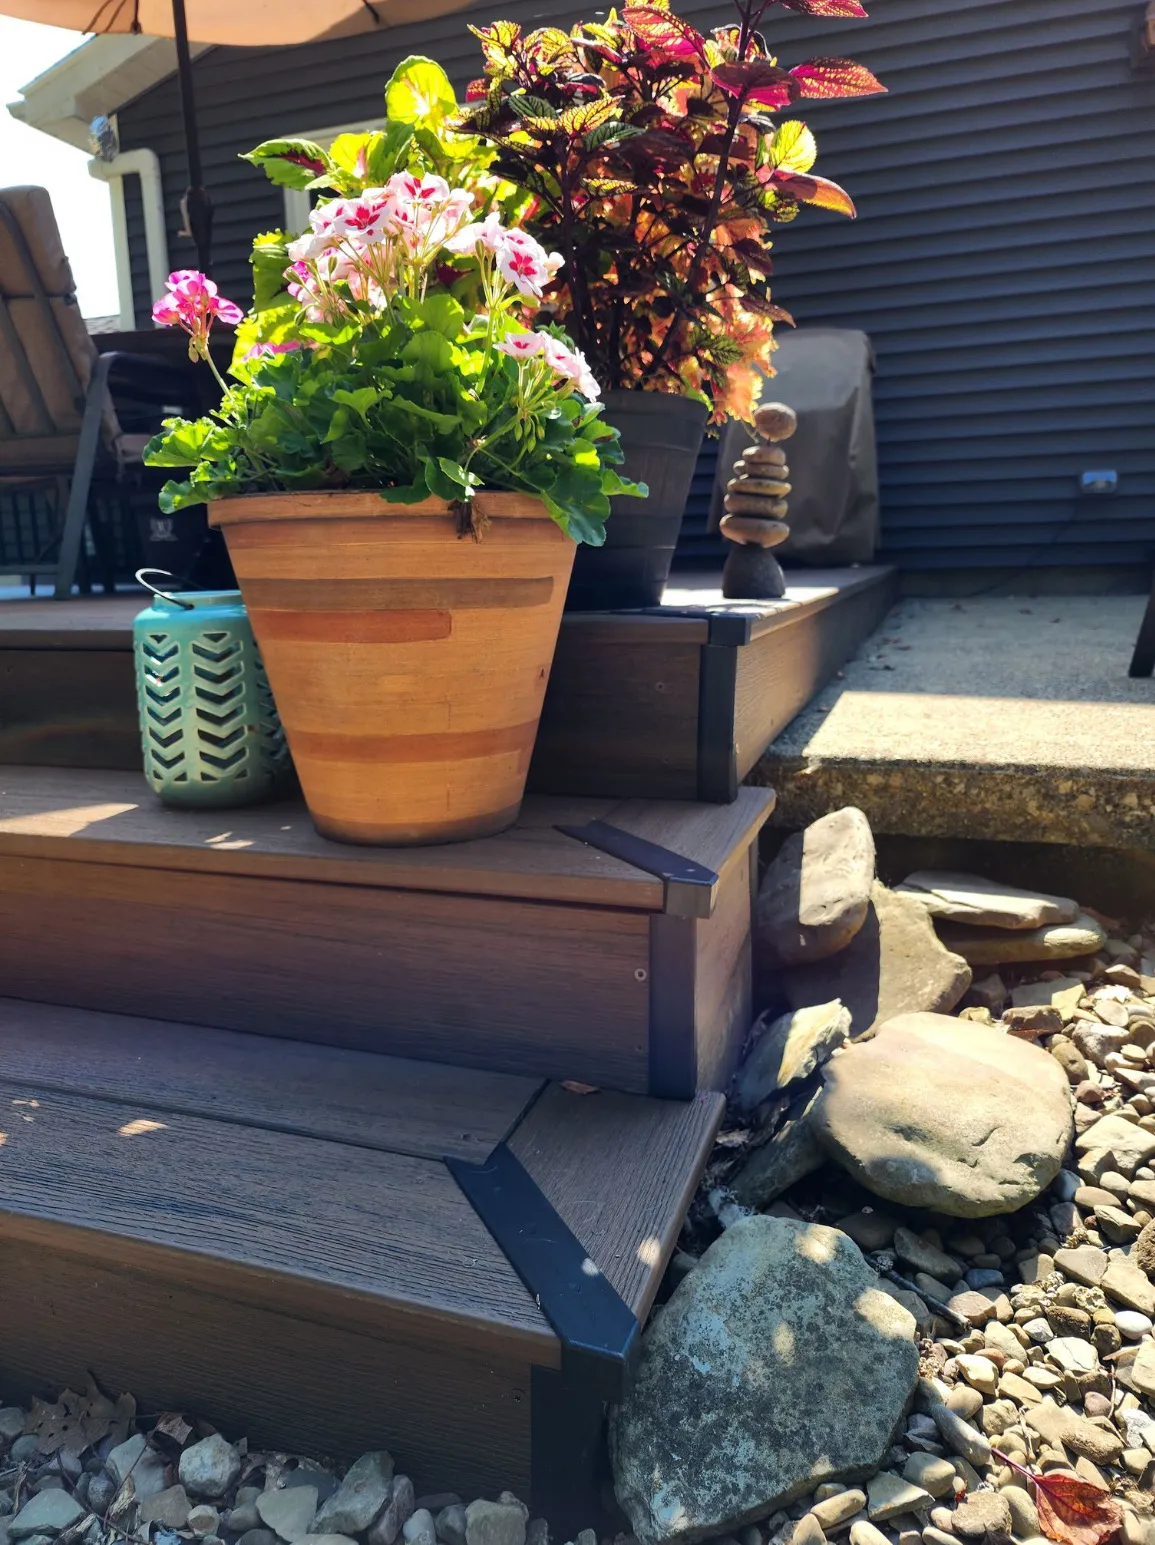
FasciaCap and TopCap take that pressure off. You still cut the corner, but you're cutting a channel for the cap to seat into — not chasing a hairline joint. The cap covers the miter and hides the movement underneath, and it fastens with composite decking screws (plugs included for a screwless finish). Both lines come in 90°, 45°, and 0°, so there's a cap for the corner you actually have.
2. Leaving fascia boards as an afterthought
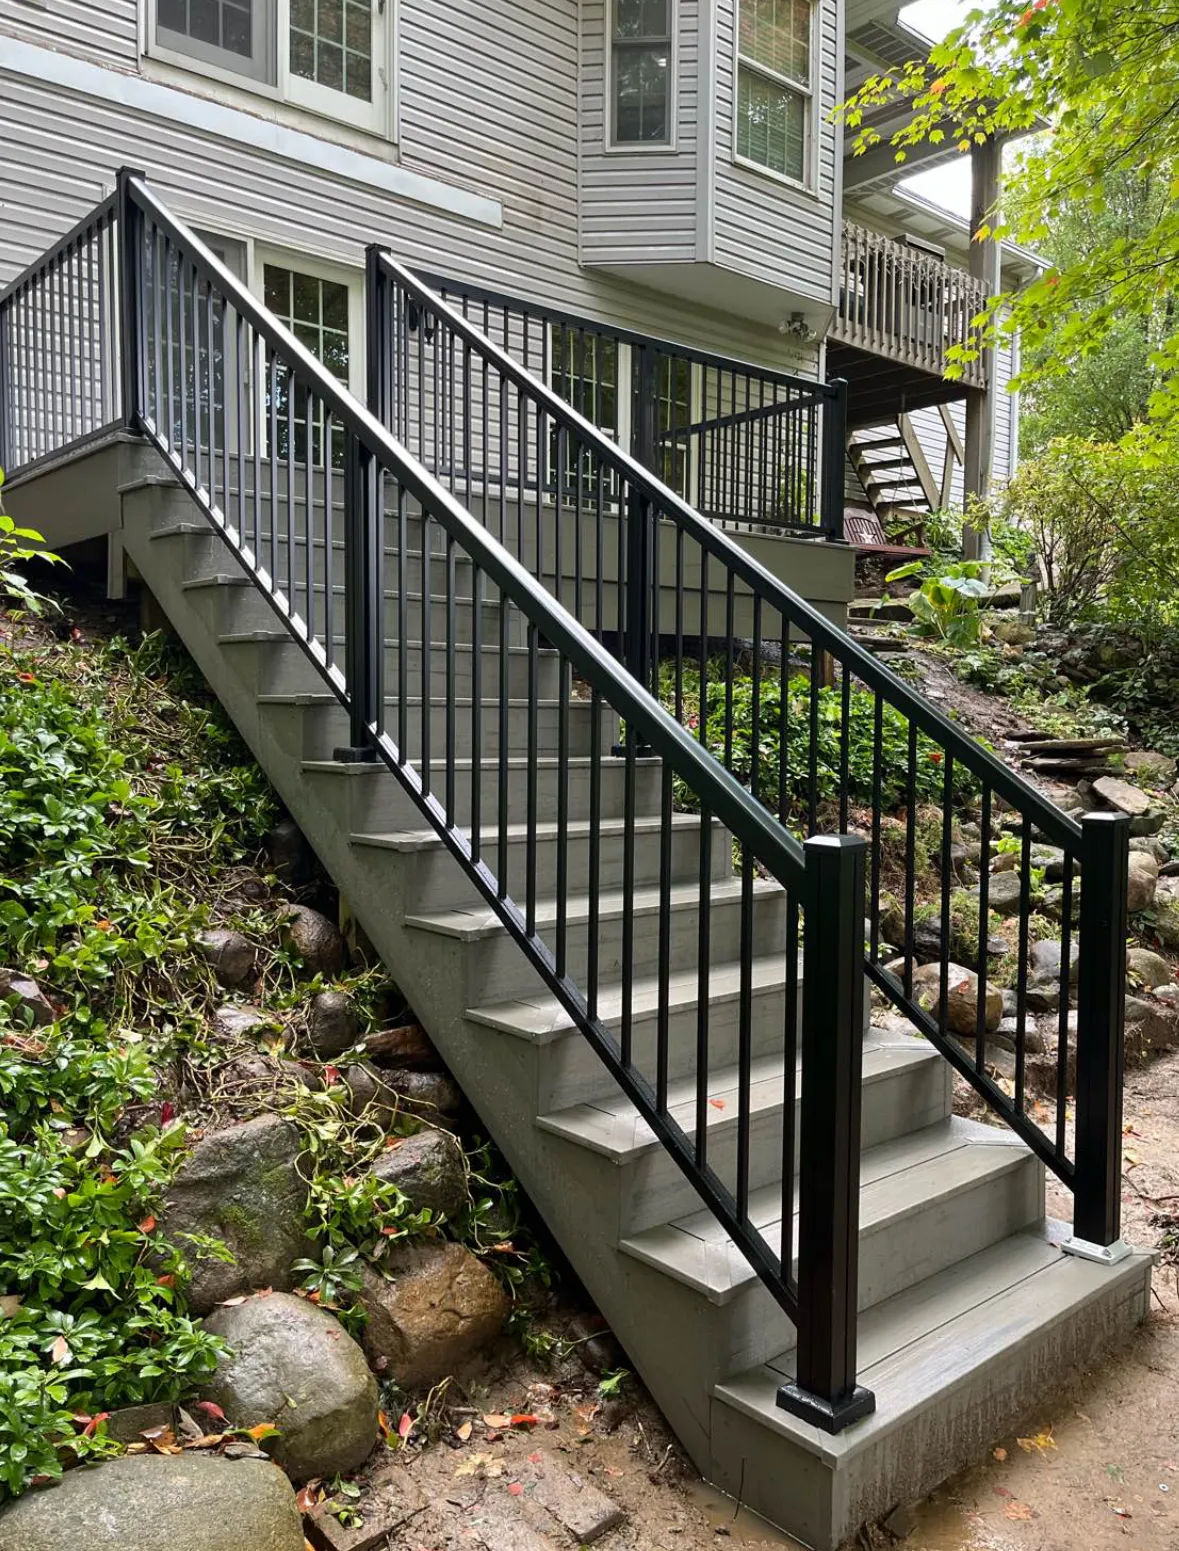
The fascia board — the trim wrapping the outer edge of your deck — is one of the first things anyone notices walking up. Many DIYers screw on a plain board and move on, but raw edges and exposed fasteners age fast, especially at the corners where boards meet.
This is where FasciaCap earns its keep. It closes off the seam where water, debris, and UV do the most damage, and it works across varying board heights — fascia runs and stair riser heights alike.
3. Leaving cut end grain exposed
Every cut you make exposes end grain — the most absorbent part of any board. Corners, stair treads, and fascia joints are full of it, and that's exactly where water finds its way in. Once moisture gets in, it wicks along the board: checking, cracking, and rot follow, often before the rest of the deck shows any wear.
Cap the cuts you can and seal the ones you can't. TopCap covers the mitered cuts at deck corners and on each step of a staircase, shedding water off the top instead of letting it sit in an open joint — and giving every corner a uniform, finished look.
4. Skipping the "reveal" gap between boards
Deck boards need a small gap for drainage and expansion. Too tight and boards can buckle when they swell; too wide and you're catching heels between the slats. A consistent 1/8" to 3/16" gap (check your decking manufacturer's spec) keeps things looking clean and performing well for years.
5. Mismatching hardware finishes
Silver screws next to black hinges next to a brass light fixture reads as unfinished, even with good-quality parts. Pick one finish family — black, bronze, or stainless — and stick with it across screws, hinges, caps, and lighting. GAPCAP™ comes in Black, Gray, and Brown to fall in line with whatever you've chosen.
6. Rushing the stain or sealant coat
Real wood decks need sealant applied at the right moisture level: not immediately after installation, and not after a rainstorm. Test with a few drops of water — if it beads up, the wood isn't ready yet.
The bottom line
A well-built frame holds up for decades. It's the finishing details — corners, cut ends, fascia edges — that determine whether it looks like it will, too. TopCap and FasciaCap exist to solve the small, high-damage problems DIYers hit at the finish line, without specialty tools or endless test cuts.
Give the finishing touches the same care you gave the framing, and it'll show.
Ready to finish your deck the right way?
Explore GAPCAP™'s TopCap and FasciaCap lines, or reach our team at info@gapcapusa.com or 814-298-4409 to find a retailer near you.
Frequently Asked Questions
A consistent 1/8" to 3/16" reveal is typical, but always follow your decking manufacturer's spec. Too tight and boards can buckle when they swell; too wide and heels catch between the slats.
The corner still gets cut, but it doesn't have to be a hairline-perfect miter. TopCap and FasciaCap seat over the corner and cover the joint, so a clean channel cut is enough — no endless test-fitting to chase a seam that will move with the seasons anyway.
End grain is the most absorbent part of any board. Cut ends at corners, stair treads, and fascia joints soak up water fastest, which leads to checking, cracking, and rot at exactly the spots people look at most.
Wait until the wood is at the right moisture level — not right after installation, and not after a rainstorm. Sprinkle a few drops of water on the boards; if it beads up, the wood isn't ready to accept sealant yet.
Yes. GAPCAP™ works on new and existing decks. On a retrofit you cut the channel so the boards form a channel about 3/8" wider than the cap's underside channel, which lets the boards keep expanding and contracting freely under the cap. No rebuild, no replacing boards.